
Keeping trucks with bed covers clean is crucial for fleet managers and operators in industries like logistics and construction. Regular cleaning not only preserves the aesthetic appeal of vehicles but also extends their lifespan by preventing damage from dirt and grime buildup. This guide provides essential tips, discusses various materials, outlines the necessary techniques and equipment, and highlights common mistakes to avoid while washing trucks with bed covers. By implementing these practices, fleet managers can ensure their vehicles maintain optimal performance and appearance.
Bed-Layer Wash: Thorough Cleaning for Trucks with Bed Covers
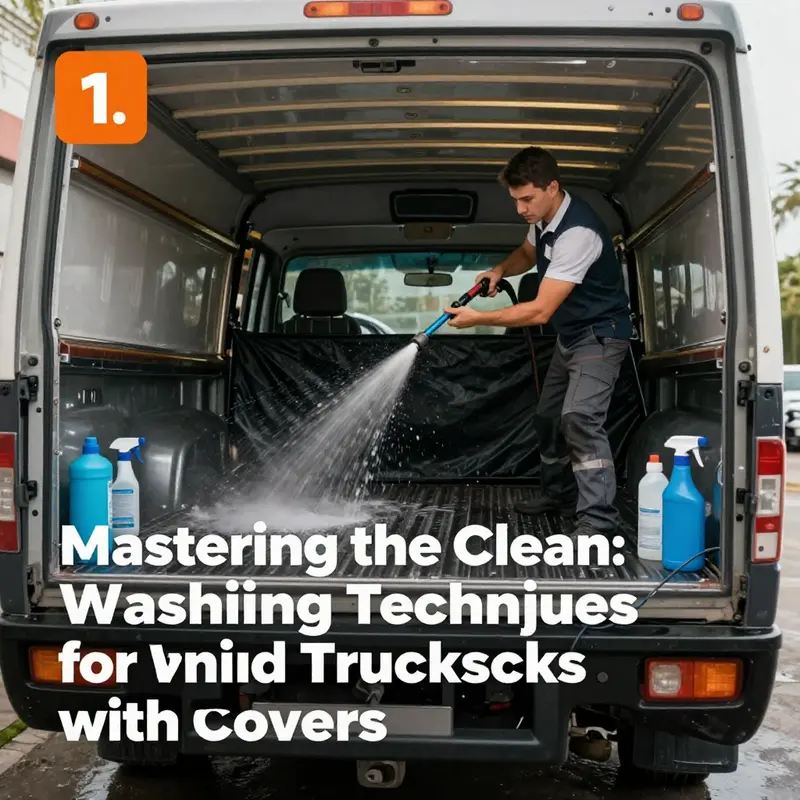
A well-cleaned truck with a bed cover communicates care and consistency. This chapter outlines a careful wash routine that respects both the paint and the cover. Start with a gentle pre-rinse to lift loose dirt from the exterior and the cover edges. Use a pH-neutral automotive shampoo to clean the body and the cover without stripping protective coatings. If the bed cover is removable, consider cleaning it separately for better access and a deeper refresh. When washing in place, protect the bed area with towels and avoid high-pressure spray on the fabric or membrane. Rinse thoroughly, then dry with microfiber towels, ensuring both the body and the cover are dry before reinstallation. Finish with a light inspection of seams and fasteners, and log any care notes for future reference.
Know Your Cover: Materials, Cleaning Methods, and Care for Truck Bed Covers
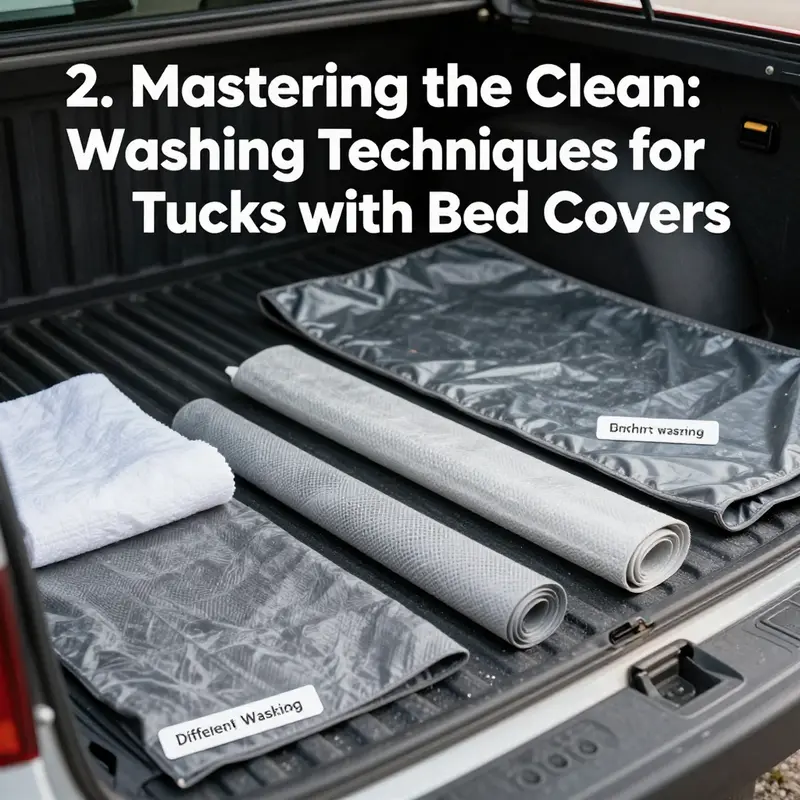
Understanding materials first gives you control over cleaning and care. Truck bed covers come in a handful of common fabrics and composites, and each one responds differently to soap, water, scrubbing, and drying. A vinyl tarp behaves unlike polyester, and rubberized fabrics need gentler agents than woven synthetics. This chapter walks through the key materials you will likely encounter, explains why specific methods matter, and ties those methods to practical steps that protect the cover and the truck.
Vinyl covers are among the most common. They resist water and UV rays and stand up well to regular use. That durability, however, depends on surface condition and cleaning choices. A mild soap and water solution is usually all you need. Mix a gentle car- or marine-safe soap with warm water. Use a soft brush or microfiber cloth to remove surface dirt and pollen. Work in small sections so soap does not dry on the surface. Rinse thoroughly with a hose, ensuring all soap residue is gone. Soap left behind can attract dirt and dull the finish.
Vinyl can attract stains from tar, oil, and road grime. For tougher spots, avoid solvents and aggressive cleaners. They can strip the protective finish or crack the material. Instead, use a cleaner designed for vinyl or a diluted solution recommended by the manufacturer. After cleaning, allow the cover to air dry completely before stowing or reinstalling. Moisture trapped under a cover can promote mildew and accelerate hardware corrosion.
Polyester-based covers, often found in soft roll-ups or tarp-style designs, behave differently. Polyester resists stretching and sheds water well when treated, but dry sunlight and heat can cause fading. Clean polyester with warm water and mild detergent. A soft bristle brush helps lift embedded dirt and grit from the weave. Avoid hot water, which can set certain stains and damage seam adhesives.
When rinsing polyester, do it thoroughly. Residual detergent in the weave can draw moisture and attract dirt. If possible, dry the cover in the shade. Direct sunlight on a wet cover can lead to uneven fading over time. For seam areas and folded sections, open them up and let air circulate. Proper drying preserves waterproof coatings and seam integrity.
Rubberized fabric covers provide excellent moisture protection and impact resistance. Their textured surface often hides light scuffs, but they require a careful approach to cleaning. Use a damp cloth with a gentle cleaner formulated for rubberized surfaces. For stubborn stains, choose a specialized rubber cleaner that conditions the material while removing grime. Avoid bleach and solvent-based cleaners entirely; those agents can degrade rubber compounds and reduce flexibility.
After cleaning rubberized covers, inspect for cracking or peeling along fold lines and at attachment points. Small cracks may be treatable with a rubber conditioner or protectant meant for that material. These products restore oils and reduce brittleness. Conditioning also creates a barrier against UV damage and water penetration. Always test any conditioner on an inconspicuous area first to confirm colorfastness and compatibility.
Across all materials, an initial step is to check care instructions. Manufacturers include labels or documentation that specify cleaning agents, temperature limits, and recommended tools. Following those instructions avoids voiding warranties and protects fabric treatments. If labels are missing, consult the supplier or a credible care guide before using any chemical cleaners.
Choice of detergent matters. Avoid household laundry detergents and bleach for outdoor fabrics. Those products can strip water-repellent coatings and leave residues that attract dirt. Choose mild, pH-neutral soaps created for automotive or marine fabrics. These products clean without attacking adhesives or surface treatments. For all-purpose cleaning, dilute concentrated cleaners to the recommended ratio. Using concentrated detergent directly on fabric increases the risk of discoloration and chemical damage.
Brush selection also influences outcomes. A soft-bristled brush lifts dirt without abrading coatings. Microfiber cloths trap particles and reduce scratching. Avoid wire brushes and coarse scouring pads on any soft cover surface. Those tools remove protective finishes and create microscopic grooves that retain grime and moisture.
Rinse quality and technique cannot be overstated. Low-pressure rinsing removes loose grit and soap residues. High-pressure washers can strip coatings and force water into seams and hardware attachments. If you must use pressure, keep the nozzle at a distance and use a wide spray pattern. Work from top to bottom, rinsing away loosened contaminants so they do not resettle.
Drying is part of cleaning. Air drying in a shaded, ventilated spot is best for most materials. Sunlight can fade and harden some fabrics if exposure is excessive. For vinyl, ensuring the underside is dry prevents mildew and mold. For polyester, shaded drying preserves color and coating effectiveness. For rubberized fabrics, drying fully before folding prevents trapping moisture, which can degrade adhesives and promote corrosion on metal components.
Storage and reinstallation steps also matter to longevity. When removing a cover for storage, ensure it is completely dry. Fold loosely to avoid sharp creases that break down coatings. Store the cover in a cool, dry place away from direct sunlight. If a cover will remain installed for long periods, periodically inspect for debris accumulation, pooling water, or loose fasteners.
Small repairs can extend a cover’s life significantly. Vinyl patches and seam tape address minor tears when applied correctly. Polyester rips often benefit from professional seam repair or specialized adhesive patches. Rubberized fabrics may require specific rubber repair kits. Replace hardware like snaps or clamps that show corrosion, since weak attachments increase stress on the fabric and can create new tears.
Routine care frequency depends on exposure and use. Covers used daily in harsh environments need weekly checks and monthly light cleanings. Covers on occasionally used vehicles may need cleaning twice a year. After exposure to road salt, heavy pollen, bird droppings, or industrial fallout, clean promptly. Salt and acidic contaminants accelerate material breakdown.
Pay attention to mounting and fit. A well-fitted cover sheds water and debris better than a flapping or sagging one. Tension and alignment distribute stress evenly across seams. Loose covers can rub against rails and tailgate edges, causing premature wear. Inspect attachment points regularly and replace worn cords, fasteners, or seals.
For stubborn grease, tar, or oil stains, follow careful, targeted strategies. Start with a mild degreasing agent that is safe for the fabric type. Work gently from the outside of the stain inward to avoid spreading. Use minimal solvent and rinse completely. If a stain resists, consider professional cleaning. For practical tips on heavy-duty stain removal from trucks, consult proven strategies for cleaning grease and tar off your trucks fast.
Finally, prevention reduces cleaning effort and extends life. Apply protective treatments recommended by the manufacturer to restore water repellency and UV protection. Keep sharp tools and abrasive materials away from the bed area. Use a liner or protective pad to prevent cargo from abrading the cover’s underside. Regularly remove debris so it does not trap moisture or abrade surfaces.
The essence of caring for truck bed covers is matching the method to the material. Vinyl, polyester, and rubberized fabrics each have clear do’s and don’ts. Soft brushes, mild cleaners, complete rinses, and careful drying preserve finishes. Manufacturer guidance and cautious use of cleaners protect warranties and performance. Routine inspection and prompt minor repairs prevent small problems from becoming catastrophic failures.
Cleaning a cover is not simply about appearance. It preserves waterproofing, seam strength, and UV resistance. It prevents mold and protects the truck bed and cargo. By knowing what your cover is made of and following the tailored approaches described here, you will keep it functional and looking good for years.
For a concise manufacturer-backed checklist and additional guidance on specific materials, see the AutoCare Association’s truck bed cover care resource: https://www.autocare.org/truck-bed-cover-care
Top-to-Tail Care: Practical Techniques and Equipment for Washing a Truck with a Bed Cover
Tools, Techniques, and a Practical Workflow for a Thorough Wash
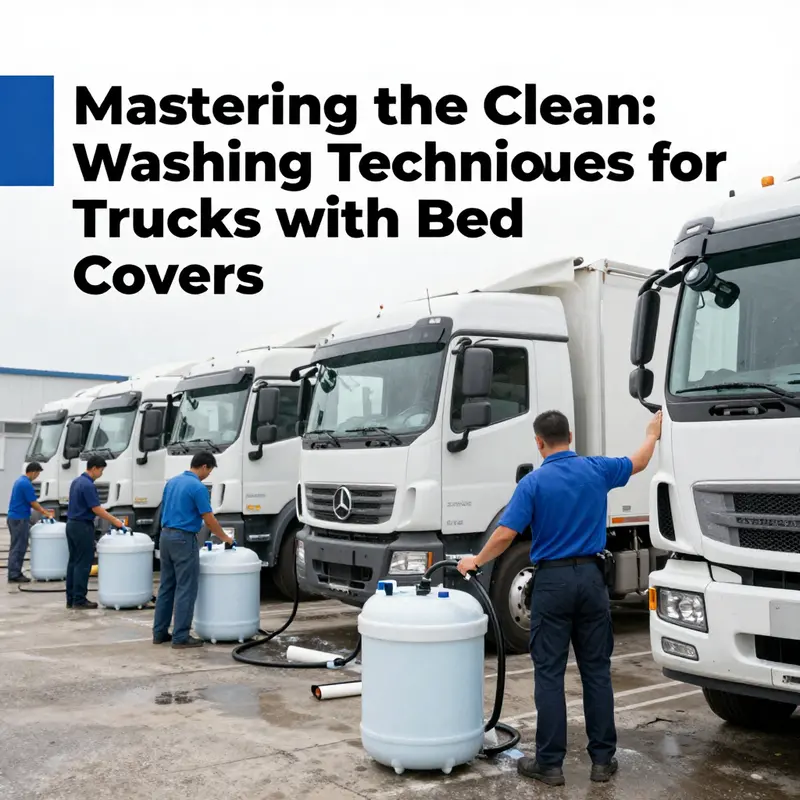
Washing a truck with a bed cover demands a methodical approach. Start with a clear plan and the right gear. Work from the top down. That prevents dirty water from settling on cleaned areas. It also keeps abrasive debris from getting trapped in seams and hinges.
Begin with a quick inspection. Check the bed cover material. Note any scratches, cracks, warped wood, or loose fasteners. Look for excessive coal or haul residue trapped in corners. Identify sensitive areas such as seals, electrical connectors, and the tailgate latch. Mark them mentally so you can avoid high-pressure streams there.
A pressure washer is the most efficient cleaning tool, but it must be used with care. Choose an adjustable unit and test settings on inconspicuous spots. Low pressure removes surface dust without damaging paint. Higher pressure targets compacted mud, coal dust, and grease on the bed and undercarriage. Keep the nozzle moving to avoid etching metal or fiberglass. Maintain a safe distance from painted surfaces and plastic trim.
Soft brushes and sponges are essential for gentle scrubbing. Use them with neutral cleaners on metal and fiberglass to lift grime without scratching. Wooden bed covers need gentler, pH-balanced cleaners. Apply sparingly and never soak wood. Excess moisture can cause swelling and warp the boards. For wooden surfaces, work in sections and dry immediately.
Select cleaning agents with the material in mind. Neutral pH detergents are safe for painted metal, aluminum, and fiberglass. They clean effectively without stripping wax. For wooden beds, choose biodegradable, non-corrosive solutions that will not open wood pores or remove protective coatings. Avoid household dish soaps. They can remove protective wax and accelerate oxidation.
Wheel and tire cleaners deserve separate attention. Tires and rims trap brake dust and heavy residues. Apply a product formulated to break down oils and carbon build-up. Allow the cleaner to dwell, then scrub tire treads with a stiff brush. Use a narrow nozzle or wand to direct high-pressure rinses into wheel spokes and behind hubs. That flushes trapped coal fragments and gravel.
Compressed air and blowers are invaluable for drying hard-to-reach spots. After rinsing, use compressed air to expel water from wheel wells, bed rail channels, and hinge cavities. This step reduces corrosion risk and prevents mold from forming under seals. Always wear hearing protection when operating high-power blowers or air tools.
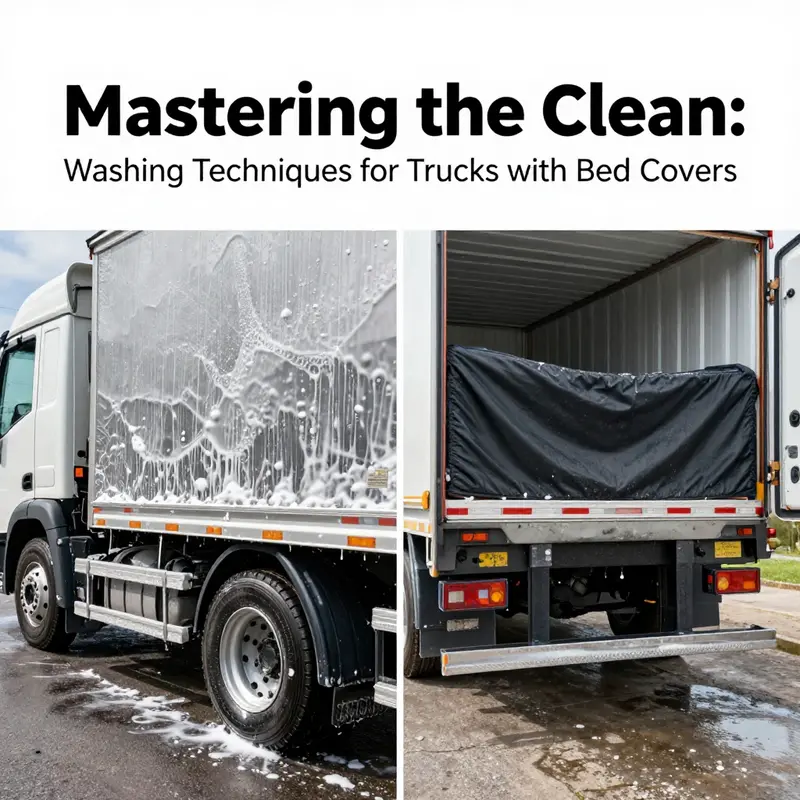
A practical washing sequence reduces work and improves results. Start with a pre-rinse from roof to bumper. This step loosens loose dirt and prevents mud from being pushed into seams during scrubbing. Focus the initial rinse on the bed cover and tailgate, where haul residue concentrates. If the cover has removable panels or seals, rinse around them carefully.
Next, address the bed cover material directly. For metal or fiberglass covers, apply a diluted neutral cleaner and let it dwell briefly. Then use a soft brush or microfiber mitt to work the cleaner into seams and textured surfaces. For stubborn coal dust, gentle agitation combined with controlled pressure will lift particles. Avoid abrasive pads or hard bristles on smooth painted surfaces.
Wooden bed covers need a different rhythm. Use a gentle, pH-balanced cleaner and work quickly. Do not allow the wood to stay saturated. After scrubbing, blot excess moisture and move immediately to drying. If the wood has a protective seal, inspect for wear and consider re-sealing when dry to maintain longevity. Small chips and cracks are best repaired before moisture re-exposure.
After the cover, move to the wheels and undercarriage. Wheel wells collect a mix of mud, salt, and haul residue. Use an angled wand or extension to reach beneath side rails and between suspension components. If the truck has raised rails or a lift kit, take extra time to rinse beneath them. High-pressure rinsing here prevents grit buildup that can accelerate wear.
Cab and bodywork follow. Use an automotive-grade cleaner diluted in a bucket. Apply with a microfiber mitt and work top to bottom. Pay attention to lower rocker panels and the tailgate where soot and exhaust particles settle. For embedded contaminants, a clay bar can remove tiny particles safely. Use it with a lubricant and avoid excessive force.
Electrical components, sensors, and glass deserve gentle handling. Do not direct high-pressure jets at cameras, connectors, or exposed switches. Instead, use low pressure and a soft brush to clean these areas. When washing glass, avoid applying cleaners aggressively near windshield wipers and sensors. Clean mirrors and trim by hand and dry them immediately to prevent streaks.
Rinse the entire vehicle thoroughly. Residual detergent will leave water spots and may accelerate corrosion. Work in clear sections, rinsing as you finish each area. For large trucks, a connected water system or large-capacity hose ensures consistent flow. If you have access to a reclaim or filtration system, use it to minimize environmental impact.
Drying is not optional. Use clean microfiber towels for flat panels. For crevices, compressed air will remove trapped water. Open doors and compartments briefly to allow moisture to escape. Inspect door seals and tailgate gaskets closely and dry them by hand if needed. This prevents mildew and preserves elasticity.
Once the truck is dry, perform optional maintenance steps that extend protection. Applying a quality wax or paint sealant to painted surfaces guards against future contaminants. For metal bed covers, a corrosion inhibitor on seams and fasteners helps prevent rust. Lubricate hinges, toggles, and locks sparingly to keep moving parts functioning.
Special considerations apply when hauling coal or heavy materials. Those loads leave fine dust that embeds in textured surfaces. For heavy soiling, repeat the cycle: rinse, clean, and rinse again. Use brushes designed for heavy-duty cleaning but still soft enough to avoid surface damage. Consider a handheld vacuum or blower to remove loose dust before wet cleaning; this reduces slurry formation and makes rinsing easier.
Environmental and safety practices should guide every wash. Capture runoff when possible and avoid sending contaminated water into storm drains. Use biodegradable cleaners and follow local disposal regulations for wash water. Wear appropriate protective gear. Gloves, eye protection, and a respirator help when dealing with heavy dust or chemical cleaners.
Minor repairs and preventive care can be built into the wash routine. Tighten loose bolts and check seals while parts are accessible and clean. Replace damaged weatherstripping promptly. Small rust spots should be treated and coated to prevent spread. These small investments keep the bed cover and truck structurally sound and simplify future cleaning.
Efficiency matters in a routine wash. Organize your tools on a cart or caddy. Keep separate buckets for washing and rinsing. Use color-coded microfiber cloths for different zones to avoid cross-contamination. Have a small brush set dedicated to crevices and tight spots. A checklist further ensures nothing is missed during busy shifts.
When washing in colder climates, plan for freeze prevention. Drying traps water in cavities that may freeze overnight. If temperatures are low, operate in a sheltered area or use heated drying tools. Apply protective products that are rated for low temperatures to prevent cracking and maintain pliability of seals.
For businesses or high-frequency operations, consider facility-level practices. Centralized water management, proper drainage, and organized tool storage increase throughput and reduce environmental impact. Useful operational ideas and management approaches are discussed in resources about facility management for truck wash businesses.
Follow-up inspection after the wash completes the cycle. Check for residual streaks, missed debris, or newly exposed wear. Close and cycle the bed cover to ensure latches and hinges move smoothly. Test lights and electrical connectors that were near cleaning areas. A final walkaround ensures the truck is ready for duty and identifies any maintenance needs.
Applying these techniques and equipment choices produces a thorough, safe wash. The goal is not only aesthetic cleanliness but also protection of materials and operational readiness. A systematic process reduces the time and effort required over repeated washes. It also preserves resale value and reduces long-term maintenance costs.
For authoritative guidance on vehicle maintenance practices and safety protocols relevant to trucking, consult the National Institute for Occupational Safety and Health guidance on trucking: https://www.cdc.gov/niosh/topics/trucking
null
null
Final thoughts
Maintaining a clean truck with a bed cover is vital for preserving vehicle longevity and performance in any fleet. Effective cleaning techniques, understanding the materials of bed covers, and avoiding common pitfalls contribute to excellent fleet maintenance practices. By incorporating the insights from this guide, fleet managers and operators can ensure that their vehicles always remain in top condition, reflecting professionalism and operational efficiency.