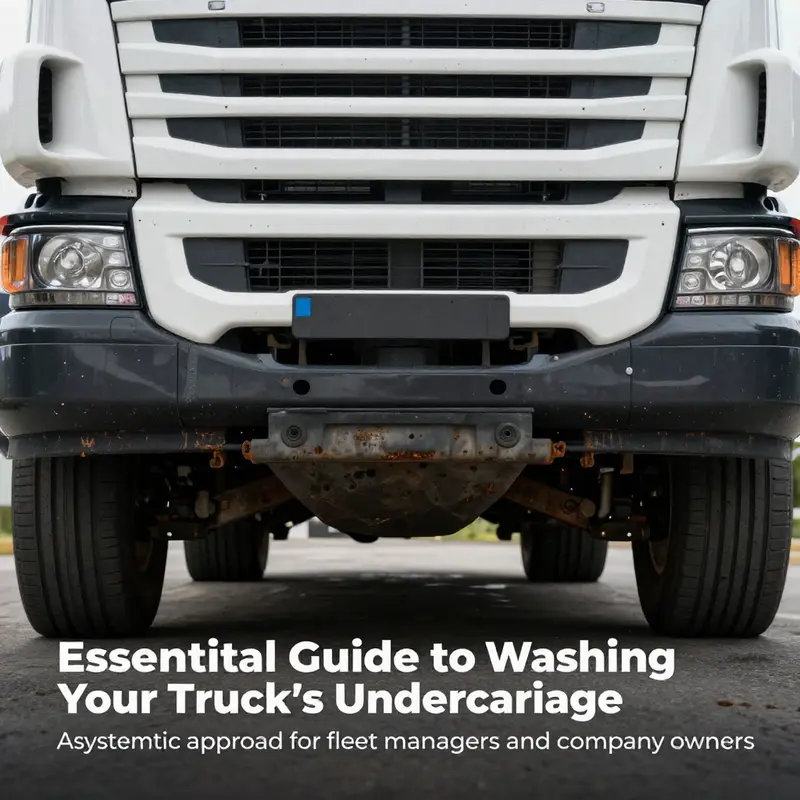
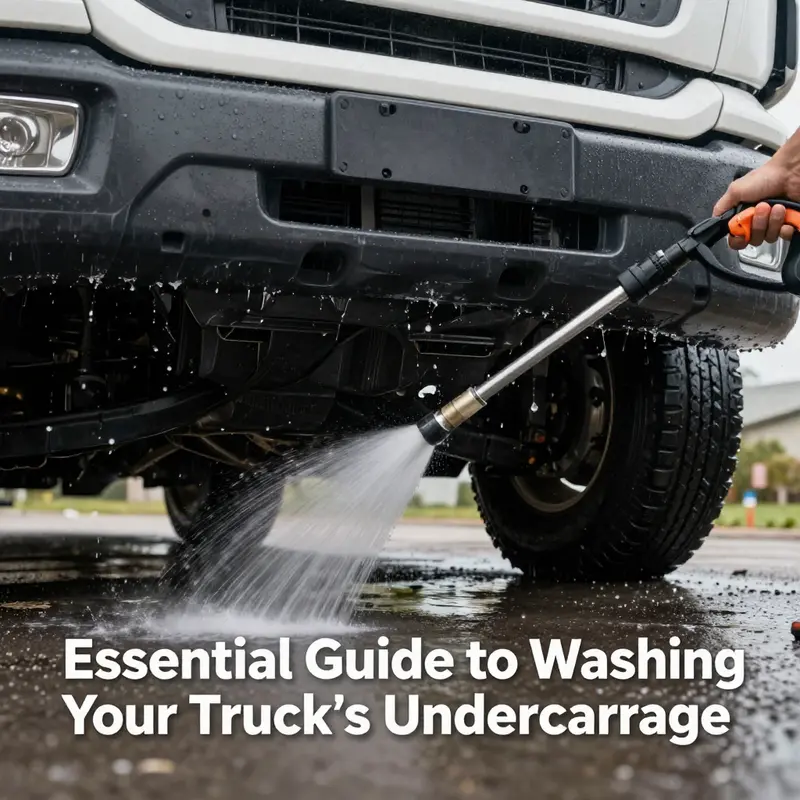
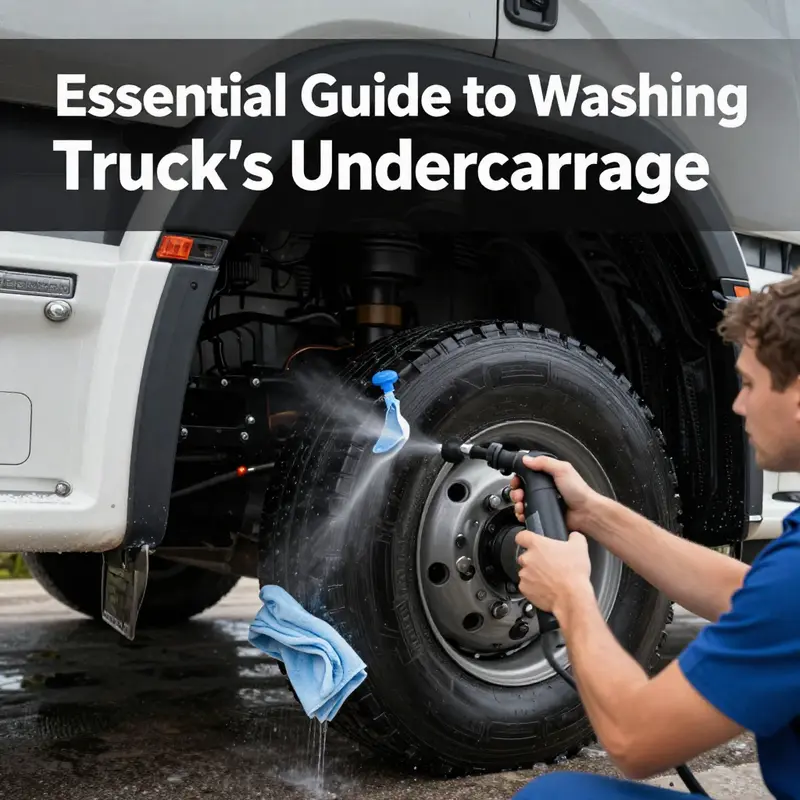
Maintaining a clean truck undercarriage is crucial for prolonging vehicle life, enhancing safety, and improving fuel efficiency. A well-maintained undercarriage prevents rust and corrosion while ensuring operational integrity, making it particularly significant for fleet managers and company operators in logistics, construction, and mining industries. This article will provide a thorough guide, offering actionable steps and expert advice on how to wash the undercarriage of your truck effectively. Each chapter will delve into key processes, from preparation and pre-rinsing to applying protective treatments, equipping you with everything you need for optimal undercarriage maintenance.
null
null
Pre-Rinse Foundations: Laying the Groundwork for a Safe, Thorough Undercarriage Wash
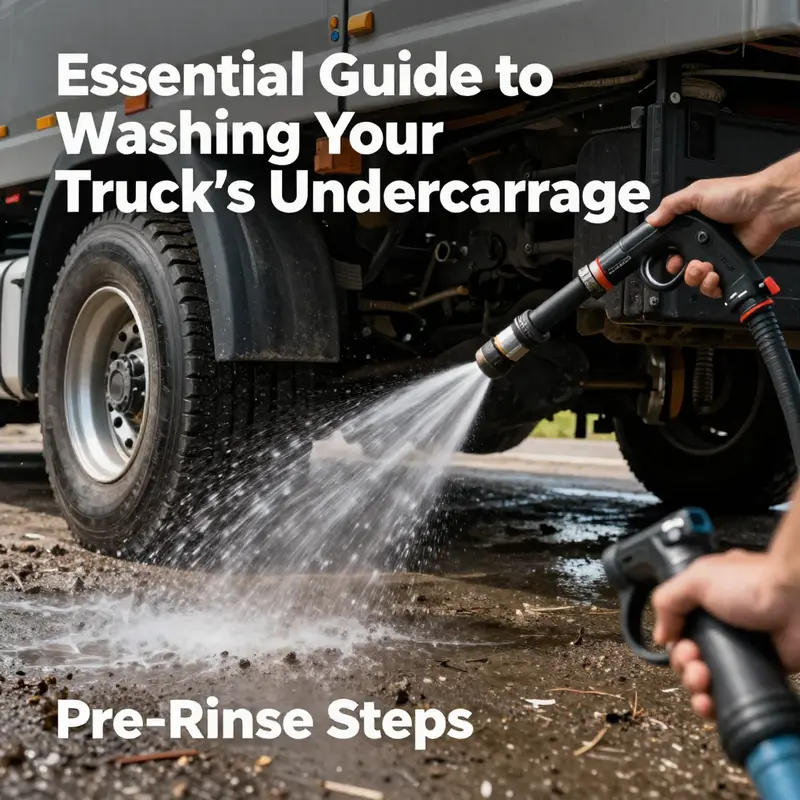
The pre-rinse is more than a quick splash. It is the quiet, often overlooked foundation of a clean, protected undercarriage. When you lift a truck’s belly off the road grime, you set up the rest of the wash to do its job well. This phase is where you decide how much material to remove, what parts to shield, and how smoothly the entire process will unfold. A deliberate pre-rinse reduces chances of scratching, shortens the later cleaning time, and minimizes the risk of water intrusion into components that don’t tolerate moisture well. Understanding its purpose helps you treat the undercarriage not as a single surface to be cleaned but as a complex set of channels, seams, and surfaces that need respect and method.
Preparation begins with the simple choice of environment. Park the truck on a level, open area. Water will flow away rather than pool, reducing the risk of trapping moisture in hard-to-dry corners. If you can, pick a location with good drainage and shade. Direct sun or high heat can cause rapid drying, which increases water spots and can leave you re-washing sections that dried unevenly. A calm setting also supports steady movements with the hose, so you don’t have to rush sections that deserve careful attention. The undercarriage is full of sensitive points, and you must treat them like fragile assets rather than distant parts of a big machine.
Engine temperature matters in more ways than one. Allow the engine to cool before you spray. A hot engine under cold rinse water can generate steam and sudden thermal shock to metal joints. That heat is not just uncomfortable; it can momentarily distort seals or expose lumens to pressures they aren’t prepared to handle. A cool-down period lowers the risk of thermal stress and makes the entire process safer for you and the vehicle.
Before you spray, take a quick walk under the truck and visually inspect for obvious damage, loose brackets, or leaks. Any loose pieces or obvious fluid leaks deserve attention before you start the wash. If you find something clearly amiss, address it in a controlled way rather than letting water carry debris into compromised areas. This inspection isn’t a luxury but a first layer of prevention. Embedded dirt and old oil can degrade seals when agitated with strong flow, so identifying trouble spots early helps you avoid exacerbating problems later.
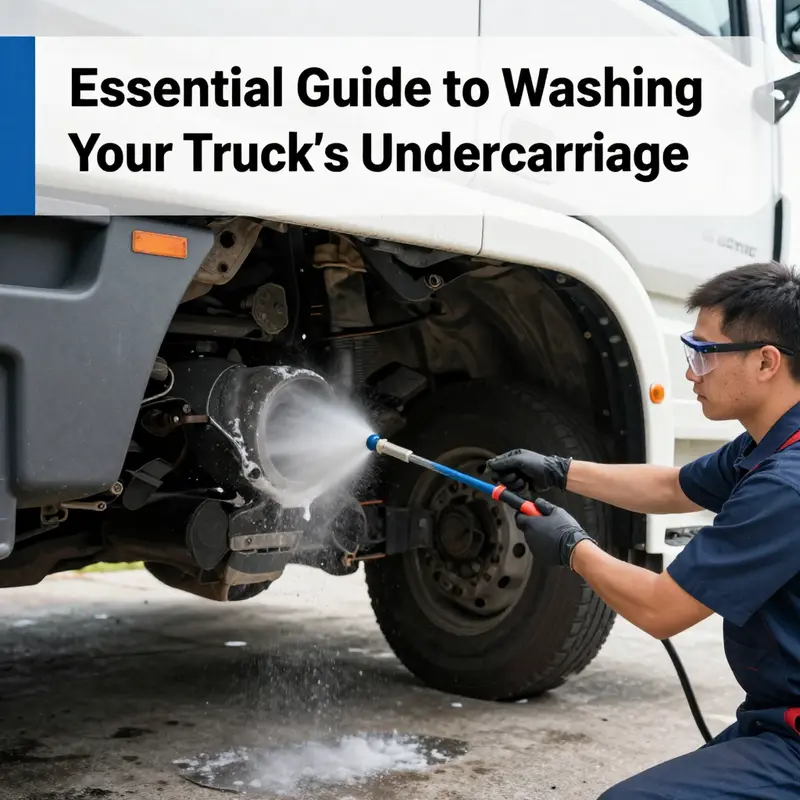
When you begin the pre-rinse, use a high-pressure hose or pressure washer at a moderate setting. The goal is to loosen dust, mud, salt, and light grime without blasting into delicate channels. Focus on the areas most prone to heavy buildup: wheel wells, frame rails, and suspension components. The goal is not to scrub aggressively at this stage but to dislodge the loose material so subsequent cleaners can work more effectively. The high-pressure flow is your ally here, but it must be applied thoughtfully.
Distance and angle matter. Keep the nozzle about 15 to 30 centimeters from the surface. A 45-degree angle helps protect seals and painted surfaces while still directing the spray into crevices. This angle reduces the chance of forcing water straight into joints or electrical harnesses and minimizes the risk of water forcing into seams where it could trap debris. If you see water sheeting off a smooth surface, you’re at the right distance; if it beads abruptly or digs into a seam, reassess your angle and distance. The aim is steady, controlled flow, not a hammer-blow of water.
In truth, the pre-rinse is as much about strategy as it is about spray. You want to invigorate the areas that accumulate stubborn grime without turning the entire undercarriage into a spray zone for every other surface. Begin with broad sweeps across the lower panels and frame, then narrow the focus to the more stubborn sections. Heavily soiled zones—around wheel wells, behind the differential housing, along the frame rails, and near suspension mounts—get additional attention. The loosened material will be easier to remove with the cleaner that follows, and you avoid pushing gritty residues into tight spaces where they can cause wear or corrosion later.
As you work, keep an eye on the runoff. Clear runoff indicates you’ve removed loose debris and aren’t just moving it around. If you notice that water remains dirty after a sweep, you’ve likely missed a crucial area or need a slightly different approach for that patch. In those moments, slow your pace and re-check those sections. A thorough pre-rinse saves time in the next steps and reduces the chance of trapping abrasive particles under protective coatings later in the process.
The pre-rinse is also a moment to remind yourself of the broader goal: protect sensitive components while laying the groundwork for an effective cleaning. You’ll cover electrical connections, brake lines, exhaust joints, and sensor housings with protective measures, but the actual approach during the pre-rinse is about keeping those zones from being overwhelmed by the initial blast. Gentle, confident movements help you map the terrain with the water itself, revealing corners that may require more care when detergents are introduced.
If you’re seeking deeper context or complementary techniques, you can explore additional industry guidance on cleaning strategies that address grease and tar buildup. For example, one widely cited approach emphasizes the value of integrating proven methods for breaking down stubborn residues with careful handling of sensitive zones. This perspective aligns with the principle that pre-rinse sets the stage for everything that follows and underscores why many practitioners treat it as a non-negotiable first step. Proven Strategies for Cleaning Grease and Tar Off Your Trucks Fast.
Once the surface has been thoroughly rinsed and the biggest loose materials are cleared away, you’re ready to move into the cleaner application. This is not a license to abandon caution; it’s a bridge to the next stage, where a targeted formula begins to dissolve oil, salt, and entrenched grime. The pre-rinse ensures that cleaner contact is efficient, that the detergent can reach into the pores and joints where dirt resides, and that you’re not simply moving debris from one place to another. You’re laying the groundwork for a clean, protected undercarriage where corrosion resistance can be maintained and visual inspection can reveal the next steps clearly.
In the larger arc of maintenance, the pre-rinse serves as a sentinel. It signals whether the truck has suffered significant wear or damage that needs attention beyond aesthetics. The calm, methodical rhythm of the rinse—check, rinse, observe—builds a discipline that translates to safer operation and longer life for critical components. It’s the small, steady motions that prevent big problems later, and that is why the pre-rinse is such a pivotal moment in any comprehensive undercarriage cleaning program. For readers interested in how these early steps integrate with broader facility practices and fleet maintenance strategies, the linked guidance offers a broader lens on how professionals approach undercarriage care across different service contexts.
External resource for broader context: https://www.trucking.org/resources/vehicle-maintenance/undercarriage-cleaning-best-practices
Mastering Cleaner Application: How to Treat Your Truck’s Undercarriage for Lasting Protection
Applying the right cleaner to your truck’s undercarriage is more than a quick spray-and-rinse task; it’s a deliberate process that prepares metal and rubber components for inspection, drying, and long-term protection. This chapter walks through the practical steps, common pitfalls, and smart habits that turn a one-time wash into effective maintenance. Read it as part of the larger undercarriage-care routine: the cleaner stage dissolves grease and salt, exposes hidden problems, and sets the stage for anti-corrosion treatment, so it deserves careful attention.
Begin by choosing a cleaner formulated for heavy-duty automotive use. A safe choice is a neutral-pH or mildly acidic, biodegradable undercarriage cleaner that is explicitly suitable for metal, rubber, and painted surfaces. Harsh alkaline or strongly acidic chemicals can strip factory coatings, soften rubber bushings, and etch bare metal. Using the wrong chemistry here short-circuits the rest of your efforts; cleaner selection is both a performance and a preservation decision.
Preparing the environment matters. Park on a level surface with good drainage and shade where possible. Heat accelerates drying and can allow cleaners to flash off before they work, reducing effectiveness. Make sure the engine is cool, and that you have protective gear—gloves and goggles—on. If you have access to a lift or jack stands, elevation improves reach and visibility. If lifting the truck is not possible, tilt the nozzle angle and take extra time to coat recessed areas thoroughly.
Start with a thorough pre-rinse to remove loose grit and road salt. This step prevents the cleaner from turning into an abrasive slurry that could grind into seams and delicate parts. Use a high-pressure washer held about 15–30 cm from the surface and sweep from front to rear so runoff carries contaminants away from components. Once the big debris is gone, you can apply the cleaner effectively.
When applying the cleaner, think coverage and dwell time. Spray liberally. The goal is a continuous coating that clings to surfaces long enough to break down grease, oil, and grime in seams and behind brackets. Work methodically so no section is missed: wheel wells, suspension arms, frame rails, axle housings, and exhaust run points deserve special attention. Aim the applicator into crevices and overlap passes so the chemical reaches hidden pockets where salt and mud collect.
Follow manufacturer instructions for dilution and dwell time. Most undercarriage cleaners recommend between five and ten minutes of contact time. During this window, the cleaner does two jobs: it dissolves organic materials and it loosens mineral deposits. Avoid letting the product dry on the metal—if weather or sun threatens to evaporate it quickly, rewet the area with a light mist of water. Drying on the surface can reduce cleaning power and leave residue that will attract fresh dirt.
Physical agitation enhances chemical action. A soft-bristled brush or a long-handled scrubbing tool removes baked-on grime without scratching metal or removing protective coatings. Scrub gently where grease builds up—engine side of the tunnel, transmission mounts, and around U-bolts. For tar and heavy grease, focused brushing combined with a second light spray of cleaner loosens deposits more efficiently than brute force alone. Resist the urge to use metal scrapers near seams or painted parts; they often do more harm than good.
As you work, keep an eye on sensitive components. Cover electrical connectors, wheel speed sensors, and exposed hose ends with plastic or breathable tape before applying any cleaner. While most modern cleaners are safe for electrical parts when used correctly, water ingress remains a risk during agitation and rinsing. Take extra care around the exhaust and catalytic areas—these can retain cleaner that causes staining if not rinsed thoroughly.
Rinsing is as important as application. Use a high-pressure rinse to flush away dissolved grime and chemical residue. Start at the highest accessible points and work down. Pay special attention to areas where cleaner pools: behind brackets, inside frame rails, and in the folds of the body. Continue rinsing until the runoff runs clear and free of bubbles or suds. Any lingering suds indicate that the undercarriage retains residue, which will attract dirt and can interfere with subsequent undercoating adhesion.
Inspect as you rinse. The cleaner will reveal leaks, rust spots, and worn components that were previously hidden under grime. This is an ideal inspection moment. Look for fluid bead trails that indicate active leaks, exposed bare metal ready for corrosion, and rubber parts that have been softened or cracked. Mark or photograph areas that need follow-up repair or replacement.
Drying must be complete before you move on to anti-corrosion treatments. Water trapped under coatings or in crevices accelerates rust once a protective layer is applied over damp metal. Use compressed air to blow water out of seams and bolt heads, then wipe accessible areas with microfiber towels. If possible, take a short drive—ten to fifteen minutes at moderate speed—to shake out residual water and speed evaporation. Verify visually and by touch that surfaces are dry. Do not apply coatings or sealers to wet metal.
There are a few practical tips that lift the quality of your cleaning. Work in sections so you stay focused and don’t let cleaner sit too long on any single spot. Rinse tools periodically to avoid redepositing grime back onto the truck. Keep a simple checklist: pre-rinse, apply cleaner, dwell, agitate, rinse, inspect, dry. This routine helps avoid missed spots and ensures the undercarriage is uniformly prepared for protection.
Maintenance frequency should match use. Trucks that face salted roads or off-road conditions need cleaning more often to prevent accelerated corrosion. For heavy-duty applications, frequent cleaner use combined with periodic inspections will catch issues early and reduce long-term repair bills. For standard highway use, maintain a consistent schedule to prevent the slow creep of rust under protective coatings.
For operators managing multiple vehicles or a fleet, standardize the cleaner chemistry and application method across the fleet. Consistent products and techniques simplify training, make inspections more reliable, and improve overall fleet longevity. If you need deeper guidance on removing heavy grease and tar before cleaner application, consult proven strategies that detail specialized approaches for those materials.
Finally, keep a record. Photograph problem areas before and after cleaning, log the chemicals and dilutions used, and note any repairs that follow. This creates a maintenance history that is invaluable for diagnosing recurring issues and scheduling preventive measures. A disciplined approach to cleaner application transforms a routine wash into a protective, diagnostic service that preserves your truck’s undercarriage and extends its useful life.
For additional technical guidance on commercial vehicle maintenance and cleaner recommendations, refer to the U.S. Department of Energy’s maintenance resources: https://www.afdc.energy.gov/fuels/alternativefuelvehicles. You can also read step-by-step advice on tackling tough grease and tar prior to rinsing at Proven strategies for cleaning grease and tar off your trucks fast: https://tripleatruckwash.com/proven-strategies-for-cleaning-grease-and-tar-off-your-trucks-fast/.
Mastering the Rinse: How to Thoroughly Flush Your Truck’s Undercarriage
Why a Proper Rinse Matters
A thorough rinse is the turning point between a half-done wash and a service that truly protects your truck. The undercarriage collects the harshest contaminants: road salt, grit, oil, and packed mud. Left to sit, these materials accelerate corrosion, weaken suspension components, and hide leaks that can grow serious over time. A careful, methodical rinse removes those materials without introducing new risks—like forcing water into electrical connectors or dislodging protective coatings—so every subsequent maintenance step, from drying to coating, works as intended.
Begin by positioning the truck on level ground with good drainage or on jack stands if available and safe to use. Elevation gives clear access to crevices beneath the frame and makes it easier to direct spray into hard-to-reach pockets. Always shield sensors, exposed electrical plugs, and vulnerable exhaust joints with plastic coverings or carefully-applied tape. Those protections keep high-pressure water from infiltrating connectors and prevent water-induced corrosion at weak points.
Stand back a moment and survey the undercarriage visually. Identify heavy buildup areas—wheel wells, around the differential, the transmission tunnel, and the tops of frame rails. Note any visible fluid drips or peeling undercoating. This reconnaissance determines where to focus your spray pattern and how long each zone will need.
When you start rinsing, work logically from front to back. Flushing from the front pushes contaminants with the flow of water rather than shoving muck deeper into crevices at the rear. With a pressure washer rated for truck use—typically in the range recommended for undercarriage work—hold the nozzle 6 to 12 inches from the surface. A 45-degree angle is ideal: it dislodges grime effectively while minimizing the force directed at seals, bushings, and painted surfaces. Move the nozzle in steady, overlapping passes so no area is missed.
Target the critical mechanical zones deliberately. Suspension parts such as control arms, U-bolts, and tie rods collect compacted mud that can hold moisture against metal. Brake components—calipers, rotors, and lines—require careful attention because embedded grit shortens component life and may hide leaks. Wheel wells and mud flaps are primary catchments for road salt; they must be rinsed until runoff runs clear. Frame rails and the underside of the chassis deserve slow, methodical passes so you flush seams and bolt heads where salt and debris collect.
Keep the nozzle moving. Standing in one spot with high pressure can damage rubber bushings or remove protective coatings. For tricky spots, such as the junctions where the body meets the frame or behind brackets, alter your approach angle so the spray can follow the natural drainage paths. Angling the spray upward into crevices often forces trapped dirt out; follow that with a downward pass to carry it away. Repeat these passes until the runoff shows no froth or heavy particulate matter.
If heavy oil or grease is present, a pre-rinse of clean water helps loosen crusted grime before applying cleaner. Avoid household detergents; they can strip coatings and accelerate corrosion. Use products designed for undercarriage systems when you progress to cleaning solutions, and always rinse those solutions completely according to the manufacturer’s instructions.
After rinsing, remove any protective coverings and visually inspect areas that were hidden. This is an opportunity to spot hairline cracks, fresh leaks, or loose fasteners before they become larger problems. While the undercarriage is wet, some issues will reveal themselves more clearly; oil streaks that were previously obscured by grime become obvious and can guide your next maintenance steps.
Drying is a critical follow-up step many owners underestimate. Trapped moisture in seams and cavities becomes the starting point for rust. Use compressed air to blow water from seams, bolt heads, and recessed areas. If compressed air is unavailable, clean microfiber towels work for accessible surfaces, and a short, gentle drive—ten to fifteen minutes—helps evaporate residual moisture. Ensure everything is completely dry before applying any anti-corrosion coatings; sealants fail to adhere properly to damp surfaces and will trap moisture beneath them.
When drying is complete, inspect again. Check for residue or cleaner traces that may have remained in crevices; any remaining chemicals can react with metal or accelerants and should be rinsed away. Confirm that brake components are dry and free of cleaning agents that could affect brake performance. Look for loose hardware and signs of wear: cracked rubber bushings, frayed lines, or undercoating that is flaking.
A final strategic note: timing and frequency matter. Rinse immediately after exposure to salty roads or deep mud; letting corrosive materials sit even for a few days during wet weather significantly raises the risk of damage. Regular rinses—more frequent for off-road or heavy-duty use—keep contaminants from embedding and maintain the integrity of protective paints and coatings.
For a hands-on routine: prepare and protect vulnerable parts, rinse front-to-back with steady angled passes, focus on suspension, brake, and frame areas, remove covers and inspect while wet, then dry thoroughly with air and towels before reinspection and coating. This flow keeps the undercarriage clean without compromising sensitive parts and prepares the chassis for the protective treatments that follow.
If you want deeper guidance on removing persistent films like grease and tar before rinsing, these proven cleaning strategies can help refine your approach and save time when you’re tackling the toughest builds of grime: https://tripleatruckwash.com/proven-strategies-for-cleaning-grease-and-tar-off-your-trucks-fast/.
For industry-standard recommendations on safe rinsing practices and protective measures for vehicle underbodies, consult authoritative maintenance resources such as the National Institute for Automotive Service Excellence: https://www.ase.com/.
From Damp to Durable: Drying and Armor for Your Truck’s Undercarriage
A clean undercarriage is more than a cosmetic decision; it’s the thin line between a rust-scarred frame and years of reliable service. After you’ve washed away mud, salt, and road grime, the real work begins: drying the metal thoroughly and laying down a protective armor that can withstand the next trip through snow, slush, or a dusty backroad. This chapter isn’t about a single technique, but about a disciplined flow from residual moisture to an enduring shield. The goal is simple but exacting. You want every seam, bracket, and hollow that salt and grime like to cling to to be bone dry before you apply anything meant to resist corrosion. If even a sliver of dampness hides in a crevice, it can undermine coatings, trap moisture under seals, and promote rust that settles in with time. To do this well, combine careful air movement, targeted heat, and an informed choice of protective finish. The process begins with a realization common to seasoned technicians: drying isn’t optional, it’s foundational. When you finish rinsing, you may see clear water streaming off the surface, but that certainty can be deceptive. Water can hide in joints, in the gaps between frame rails, behind U-bolts, and along suspension links. In harsh climates—cold, damp winters, or conditions with persistent moisture—relying on natural air drying is insufficient. You need a plan to extract that last bit of moisture without cooking nearby components or introducing heat that could warp sensitive parts. A practical approach combines compressed air with a gentle, controlled heat source. Compressed air works by displacing moisture from crevices that the stream of water cannot reach. A drying sequence that uses steady bursts of air directed at critical pockets helps push out trapped water without forcing wetness deeper into the metal pores. If the air alone isn’t enough, a heat source—a propane or electric drying torch, used with restraint—can accelerate evaporation. The key is control. Target the dryout zone with a steady, even application, watching for steam from damp crevices rather than scorching heat on any single spot. Do not overheat any area; the aim is to push moisture out, not to deform or anneal metal or melt protective coatings that may already be present. Once you’ve circulated air and optionally applied heat, you’ll likely notice an appreciable reduction in surface moisture. But the true test of dryness isn’t what you see on the surface. It’s the feel of the metal and the absence of dampness in hidden pockets. A cautious touch is worthwhile; run your gloved hand along frame rails and cross members to confirm there is no cold dampness, and rely on a quick check with a dry microfiber in hard-to-reach areas. In a well-protected undercarriage, dryness after a wash becomes a reliable constant, not a hopeful exception. With the undercarriage dry, the next phase is coating. The protection plan hinges on a multi-layer approach that begins with a base layer designed to penetrate microscopic pores in the metal. A primer or undercoat serves as the adhesive foundation, creating a bond that helps subsequent layers stick tenaciously. The primer’s job is not only to seal the metal from moisture but also to raise the surface energy so the topcoat can form a durable, uniform film. After this base layer cures—usually a brief period, just enough for the film to become tack-free—you apply the topcoat or sealant. The topcoat is the primary barrier against water intrusion, road salts, and grit. It should be smooth, evenly applied, and self-leveling to minimize missed spots that moisture could exploit later. The final sealant acts as an extra cap, sealing microscopic pores and creating a cohesive membrane over the assembled coating system. The sequence—primer, topcoat, sealant—creates a layered defense that remains flexible enough to tolerate some expansion and contraction as temperatures swing. When you spray, use a fine mist and avoid drips or heavy accumulations. Allow each layer to breathe and level as directed by the product and environmental conditions, then fit a cooling window into your schedule before the next coat. The curing process matters as much as the application. A 5–10 minute window between coats helps the film set and reduces the risk of poor adhesion. After the final layer, give the undercarriage time to cure before exposing the truck to driving conditions. In many conditions, short drives with engine heat helping the top surface cure can be beneficial, but overnight curing provides the most durable film. The expectation is clear: a well-executed cure yields an armor capable of resisting moisture ingress, salt attack, and the relentless abrasion of grit, while remaining compatible with subsequent inspections or maintenance work. A practical maintenance rhythm supports this armor. Recoat every 6–12 months, and more often in environments where salt is sprayed on roads, or where winter driving subjects the frame to repetitive wet-dry cycles. The goal is not to create a perpetual, glossy finish but to maintain a resilient barrier that defends the metal from corrosive exposure. As you think about the coating layers, consider how best to keep the surface clean and ready for the next cycle of protection. Do not use alkaline cleaners to refresh the undercarriage after a treatment. Alkaline solutions can etch the surface and degrade the protective membrane you’ve just built. Neutral pH cleaners are a safer choice, paired with soft brushes or cloths to avoid scratching the coating. The protective strategy also invites a broader view: combine diligent drying with mindful driving and routine inspections to sustain the barrier you’ve created. After all, even the most robust coating needs occasional attention. Regular inspections of fasteners, bushings, and seals help you catch issues before they compromise the undercarriage. Look for loose bolts around suspension mounts or frame joints, signs of fluid leaks, or worn rubber components. Tighten or replace as needed, and address leaks promptly to prevent moisture from seeping into critical seams beneath the coating. The habit of careful maintenance extends beyond the undercarriage itself. Keeping tires properly inflated and wheels properly torqued reduces stress on suspension parts and helps the chassis withstand rough terrain without adding wear to the protective film. Defensive driving—slowing down over rough patches, avoiding deep potholes, and steering away from sharp gravel—supports the longevity of the undercarriage and the armor that protects it. The complete cycle—thorough drying, multi-layer coating, careful curing, and ongoing maintenance—embodies a disciplined approach to protecting a truck’s foundation. It’s not about a quick shine; it’s about a durable, long-term defense that makes future washes easier and future trips safer. If you’re curious about extending your knowledge beyond the undercarriage, a deeper dive into proven strategies for cleaning grease and tar off your trucks fast can be helpful when you encounter stubborn grime that lingering moisture may have hidden. proven strategies for cleaning grease and tar off your trucks fast. For additional guidance on best practices and standards, consider consulting authoritative sources as well, such as those provided by leading automotive organizations, and always follow manufacturer recommendations for coatings and safe handling practices. As the field notes suggest, a dry, clean undercarriage is the first step toward lasting protection. With proper drying, correct product selection, and mindful maintenance, you can significantly reduce rust risk and keep your truck running reliably for years. For expanded reference, trusted automotive resources offer further insights into the principles behind undercarriage protection and preventive care, including neutral cleaning options and curing times that support resilient coatings. For a broader perspective on maintenance standards and responsible vehicle care, you can explore resources from established automotive associations and organizations.
Final thoughts
Incorporating a thorough cleaning routine for your truck’s undercarriage is more than just an aesthetic choice; it is a proactive measure that ensures the longevity of your vehicle. By following the structured approach outlined in this guide, logistics and fleet managers will not only enhance the operational efficiency of their vehicles but also significantly lower maintenance costs over the long term. Consistent care prevents rust and corrosion while maintaining the structural integrity of your fleet, ultimately leading to improved safety and better fuel efficiency.