
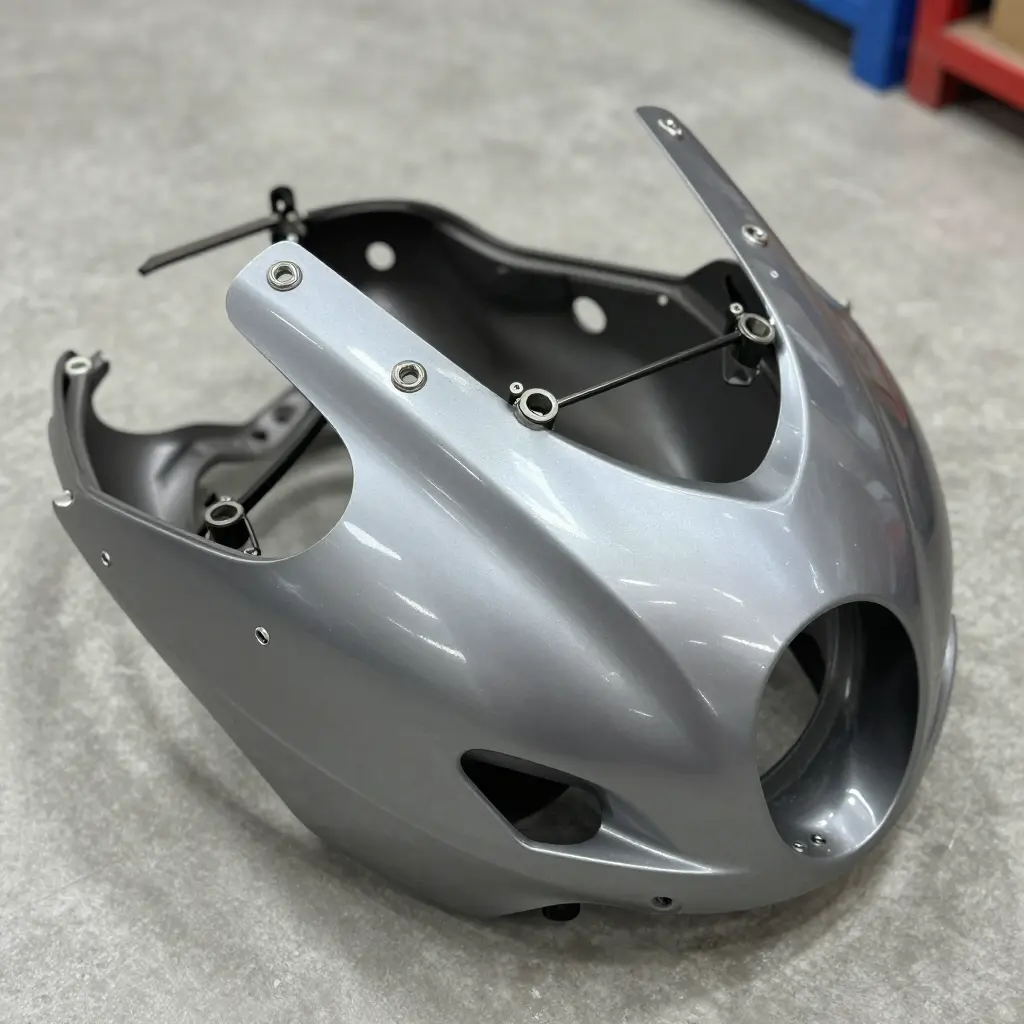
Motorcycle Fairing Rebuild: Why Missing Clips and Grommets Stall the Job
The real bottleneck in a fairing rebuild is not the panels. It is the tiny clips, grommets, and fasteners that hold them on.
Ask anyone why a fairing rebuild stalled and you will hear about cracked plastics, stripped threads, or a paint job that ran long. The delay is usually smaller and cheaper than that: a missing clip, a hardened grommet, a fastener that no longer bites. A few grams of rubber and nylon decide whether the bodywork goes back on straight or not at all.
Fairing clips and grommets do more than plug a hole. They hold brittle ABS panels away from a frame that vibrates, flexes, and heats up on every ride. Each one sets a consistent gap and spreads load across the mounting point so two hard surfaces never grind together. Remove one and the surrounding holes start carrying stress they were never built for.
Why one missing part stops the whole job
You cannot finish a rebuild around a gap. Panels have to seat fully, sit at the right gaps, and be torqued in sequence, so one absent component leaves every panel behind it loose. That is where the work stops.
- A missing grommet lets the panel rattle, and the mounting hole wears oval within a few hundred miles.
- A missing clip shifts the seam line, so the next panel will not align without being forced.
- A wrong-thread bolt cross-threads the boss and turns a fifty-cent part into a repair order.
The part is rarely the real cost. What costs is the occupied bay, the customer waiting on a bike that cannot leave half-assembled, and the minimum order quantities that make you buy a whole hardware kit for two grommets.
What Fairing Clips and Grommets Actually Do
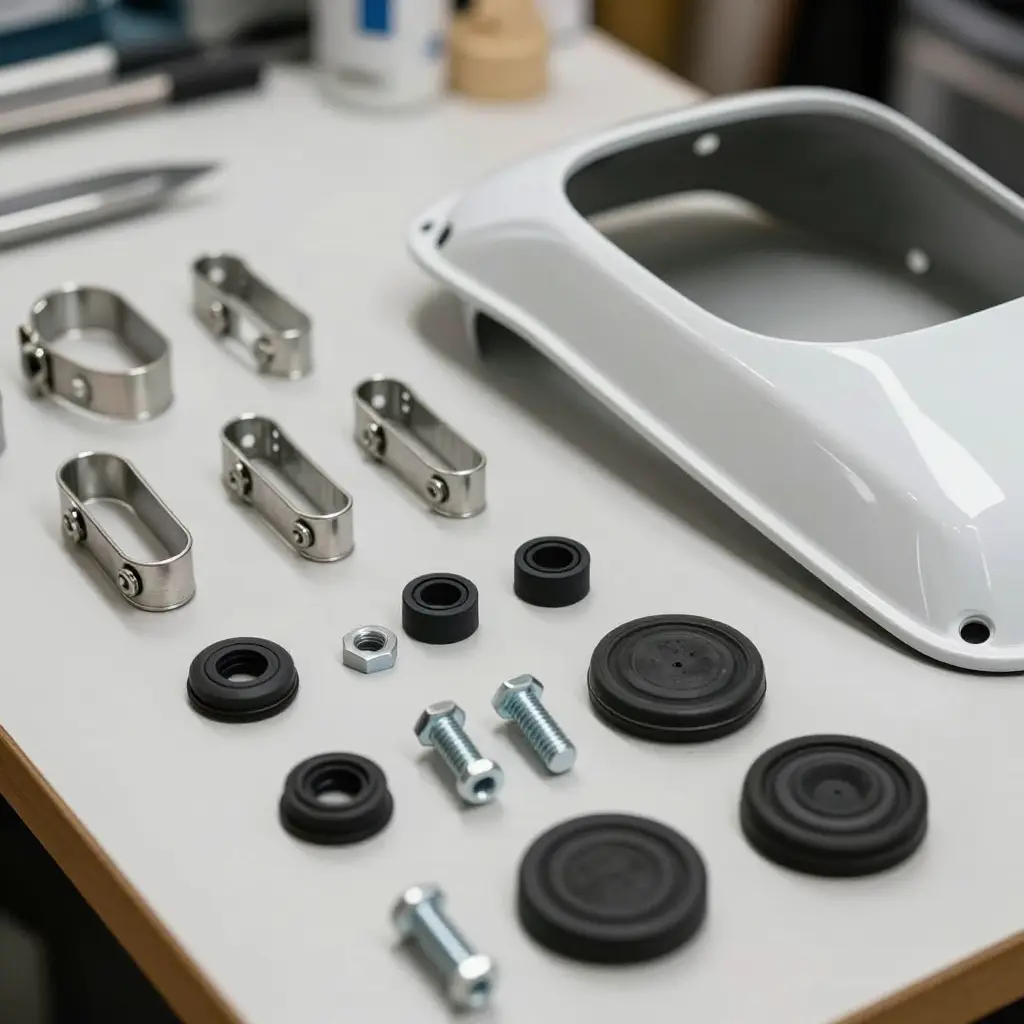
A bolt almost never holds a fairing on by itself. It works because a small fairing clip, grommet, or rubber cushion sits between the fastener and the panel. Take that hidden helper away and the joint works against itself.
Each part has a job
Fairing clips lock panels together and give every screw a threaded anchor. Pull motorcycle bodywork apart and these clips stay behind in the frame, where they often vanish. Without a clip the panel has no solid mount; it shifts, flexes, and opens a gap you can see.
Grommets and rubber cushions absorb vibration. A grommet lines the mounting hole so the bolt never bites straight into plastic or painted metal, and the cushion soaks up engine buzz and road shock. Between them they keep paint from scuffing and panels from cracking at the bolt hole.
What a missing part actually does
Without a grommet the bolt rattles against bare material. Vibration enlarges the hole, the bolt loosens, and the panel around it cracks. Because one loose panel passes its shaking to its neighbours, the failure spreads across every fairing fastener in the assembly.
A missing clip does its damage more slowly. The gap widens with every ride, water and grit work into the joint, and the panel drifts further out of alignment.
Before you tighten the first bolt
Replace every worn clip, grommet, and cushion before you tighten a single bolt. Staying ahead of small hardware failures is the same discipline that keeps any vehicle reliable, and it is what the regular maintenance that protects long-haul equipment is built on. Skipping one cheap fastener is the quickest way to crack an expensive panel – and the most common reason a fairing rebuild stalls halfway through.
Fairing Grommets & Clips Compatibility Reference: Cross-Check Before You Order
| Fastener type | Typical location on the fairing | Common size or thread spec | Replacement note |
|---|---|---|---|
| Push-type clip | Side panels, inner shrouds, and trim covers pressed flush into the subframe | 6 mm to 8 mm shank; hole diameter 6-8 mm | Measure the panel hole, not the old clip, since aging clips deform and shrink. Match head diameter so the panel sits flush without stress cracks. |
| Screw grommet | Fairing-to-frame mounting points and bracket joints hidden behind the cowl | Common M5 x 0.8 or M6 x 1.0 coarse thread; rubber or nylon body | Screw grommets split before the screw strips, so replace both together. Reuse only if the grommet still grips the screw with firm resistance. |
| Rivet clip | Fixed fairing edges, undertails, and one-time trim panels with no service access | 5 mm to 7 mm expanding shank; plastic blind rivet style | These are usually single-use. Drilling out the old rivet is normal – order spare clips, as the shank head commonly snaps on removal. |
| Panel grommet | Body panel alignment tabs, side skirts, and belly-pan strips | Square or rectangular push fit; 10 mm to 14 mm insert | Match the shape, not just the size. A round grommet forced into a square slot will not seat and lets panels rattle or peel at speed. |
| Bolt grommet | Heavily loaded mounting bolts near the engine, radiator, and heavier fairing stays | Rubber-cushioned sleeve sized for M6, M8, or M10 shoulder bolts | These absorb vibration, so check for hardening or cracking rather than just fit. A compressed bolt grommet transfers vibration and causes bolt fatigue. |
| Trim / edge grommet | Panel-to-panel gaps, cut-out edges, and cable pass-throughs | U-channel profile; 2 mm to 5 mm edge thickness | Sold in continuous length and cut to fit. Confirm edge thickness before trimming, or the seam will pop loose on the first wash. |
Quick tip: photograph each empty hole next to a ruler before ordering. Fairing grommets and clips are often sold by shank or hole size rather than by bike model, so a measured hole plus a matched head shape is the most reliable cross-reference.
The fasteners that go missing most often
Rebuilding a motorcycle fairing turns into a scavenger hunt for tiny hardware. These are the fasteners that disappear most often, where each one lives, and why it slips away.
- Push clips (fairing clips) – snap into a panel hole and grip a post. Their plastic legs turn brittle with age and often break or bounce away the moment you pry a panel loose.
- Shoulder grommets – seated in the motorcycle fairing to cushion bolts and silence rattles, they harden and shrink over time, then drop out unnoticed when the bolt is removed.
- Well nuts – rubber expansion nuts used to mount panels to the frame, they frequently get pushed inside the bodywork or spin free and vanish into the cavity behind it.
- Rubber dampers – these small isolators sit between the fairing and the frame to soak up vibration, but heat and UV exposure make them crumble, so they fall off during disassembly.
- Speed clips – spring-steel clips that thread onto a screw behind a panel, they snap loose and ping across the floor, making them one of the easiest fairing fasteners to lose.
- Screw grommets – inserted into plastic holes to accept a screw, they crack around the threads and slide right through the fairing the second the fastener is backed out.
Keep a few spares of each before you start and you will spend far less time crawling under the bike hunting for the clip that got away.
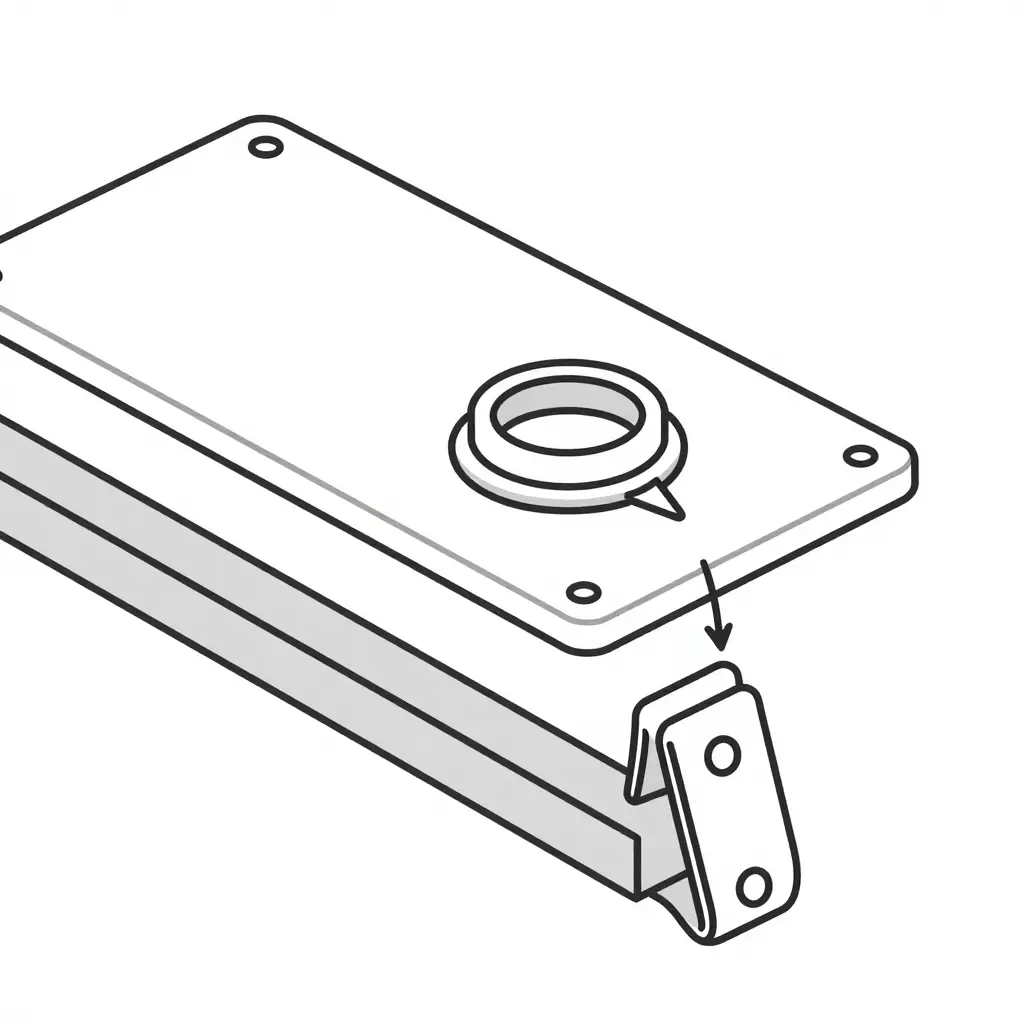
The ripple effect: how one missing clip escalates
A missing fairing clip is never only a cosmetic flaw. It is the first domino, and ignoring it commits you to a full motorcycle fairing rebuild instead of a five-minute fix.
Fairing grommets and clips are not decorative. They are load-bearing fasteners that hold panels in fixed relation to one another. Remove one and the panel it secured is no longer anchored, so at speed it flexes on its own.
The mechanical evidence
Vibration transfer. Every engine pulse, road seam, and crosswind travels through the loose panel instead of being spread across the mounting points. Vibration a rubber grommet once absorbed now resonates freely and finds the next weak joint.
Load redistribution. With one mount gone, the remaining fasteners carry more stress. Bolts that were never designed to take that load start to loosen, then walk out entirely. Once they are gone, the panel is effectively held by friction alone.
The symptoms stack up: hairline stress cracks radiating from mounting holes, paint scuffed where a panel chatters against the frame, bolts disappearing one by one. Every missing bolt puts more load on the survivors, so the failure feeds itself. Left long enough, the panel cracks through or a tab snaps off, and motorcycle bodywork that was perfectly serviceable becomes scrap.
The cost and time hit
At that point you are no longer replacing a clip. You are sourcing discontinued panels, repairing cracked mounting tabs, and chasing vibration damage across the whole bike. Labour hours multiply, parts availability becomes the bottleneck, and the job stalls while you wait.
Prevention is cheap. Checking grommets, clip tension, and bolt torque at every service catches these failures before they chain. The same discipline pays off across any fleet, which is why the importance of regular trailer maintenance is worth applying to your fairings too. A two-dollar clip today or a full rebuild next month: that is the whole ripple effect in one choice.
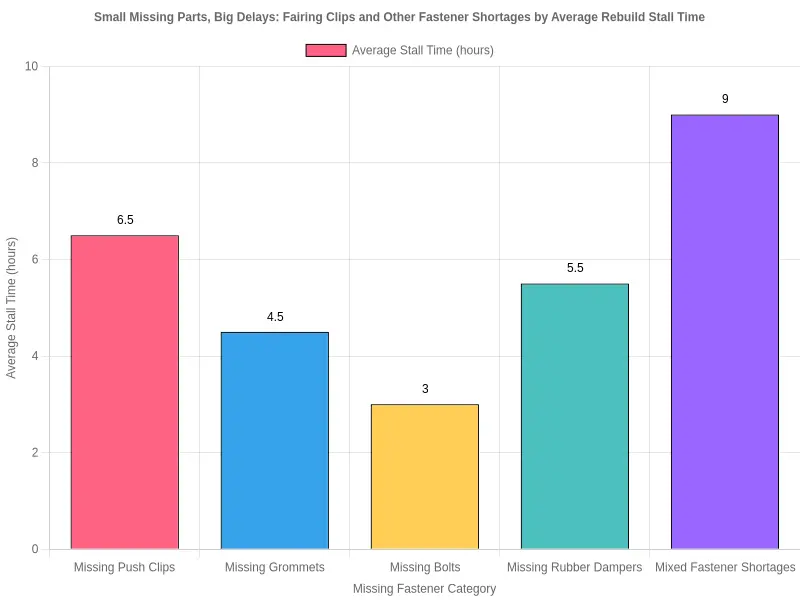
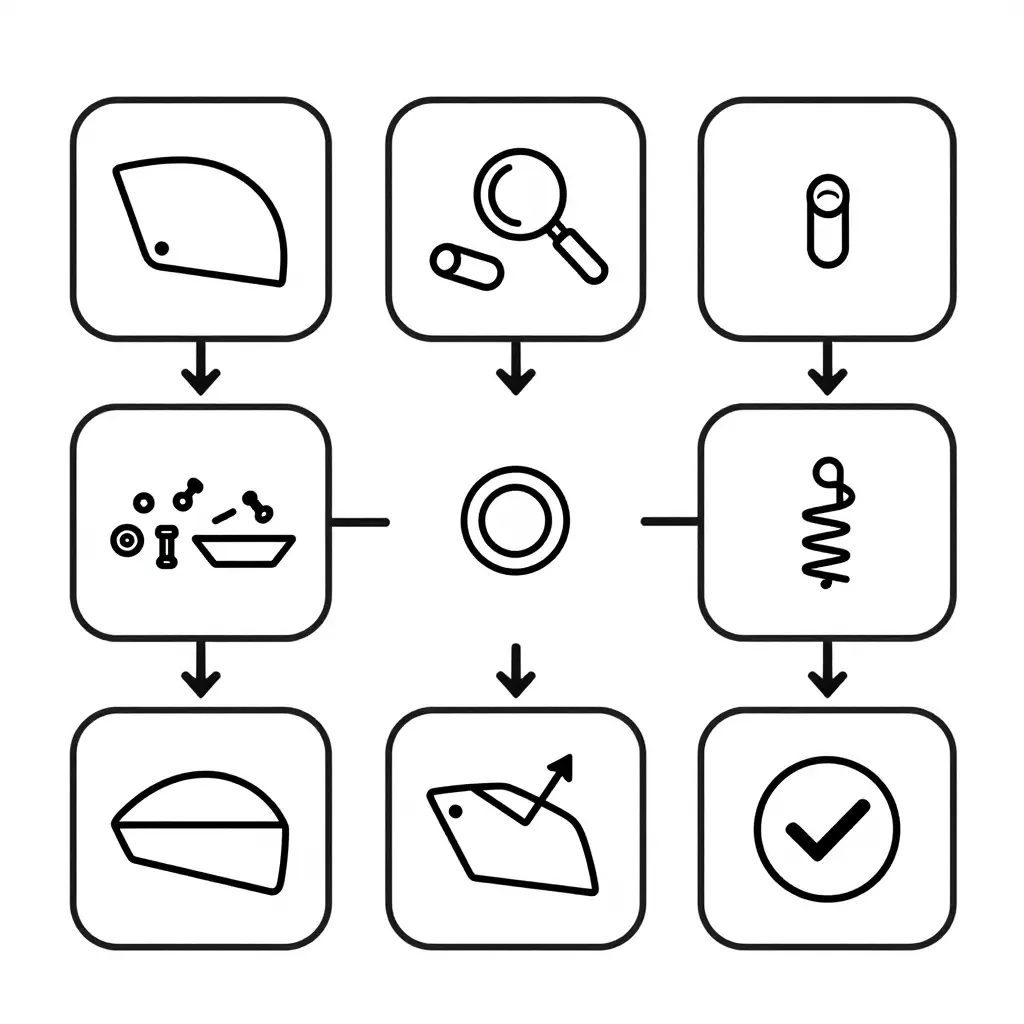
A single part missing mid-teardown can turn a fairing rebuild into a week-long stall. Work in this order and the job keeps moving from the first bolt to the final rattle check.

1. Inventory existing fasteners before removal
Before you touch a bolt, lay out a labeled tray and count every screw, bolt, and push-pin on the bike. Photograph the installed panels and note which fastener belongs where, so you have a reference you can trust at reassembly. Knowing your starting stock saves you from finding a gap when the bike is already half apart.
2. Organize clips and grommets by panel
Bag fairing clips and grommets separately and label each bag for the left, right, front, and tail panels. Near-identical hardware ends up on the wrong side easily; labels stop that. They also show which panel is short of parts before reassembly begins.
3. Source any missing parts
Compare your inventory against the parts diagram and order replacements now, especially the small fairing clips and grommets that snap easily. Bulk packs cost less than a second dealer trip once the bike is off the road. Do not start reassembly hoping a missing piece turns up.
4. Test-fit grommets
Press each grommet into its panel hole and check for a snug, square seat before bolting anything down. A grommet that sits crooked or feels loose will let the clip pop out later, so swap it now. Use this pass to trim frayed rubber or clear dried road grime that blocks a proper fit.
5. Reinstall panels in the correct order
Start with the innermost or most central panels and work outward, threading every fastener loosely first and tightening only once each panel is aligned. Rushing the sequence cracks tabs and forces clips into place, which is how a rebuild grinds to a halt.
6. Perform a final torque and rattle check
Go back through every fastener with a torque wrench set to spec, then tap each panel and listen for rattles. A short ride around the block confirms nothing shifted. Checks like these are part of keeping up with regular maintenance, which catches small failures before they snowball.
Followed in this order, the workflow keeps every part accounted for from teardown to test ride, so the job never stalls on a forgotten clip or a wrong-side grommet.
Sourcing the Right Clips and Grommets the First Time
The fastest fairing rebuild starts on the bench, not with a wrench. Get the right hardware in hand first and the panels go back on in an afternoon; guess and the job stalls for weeks.
Why off-spec parts keep failing
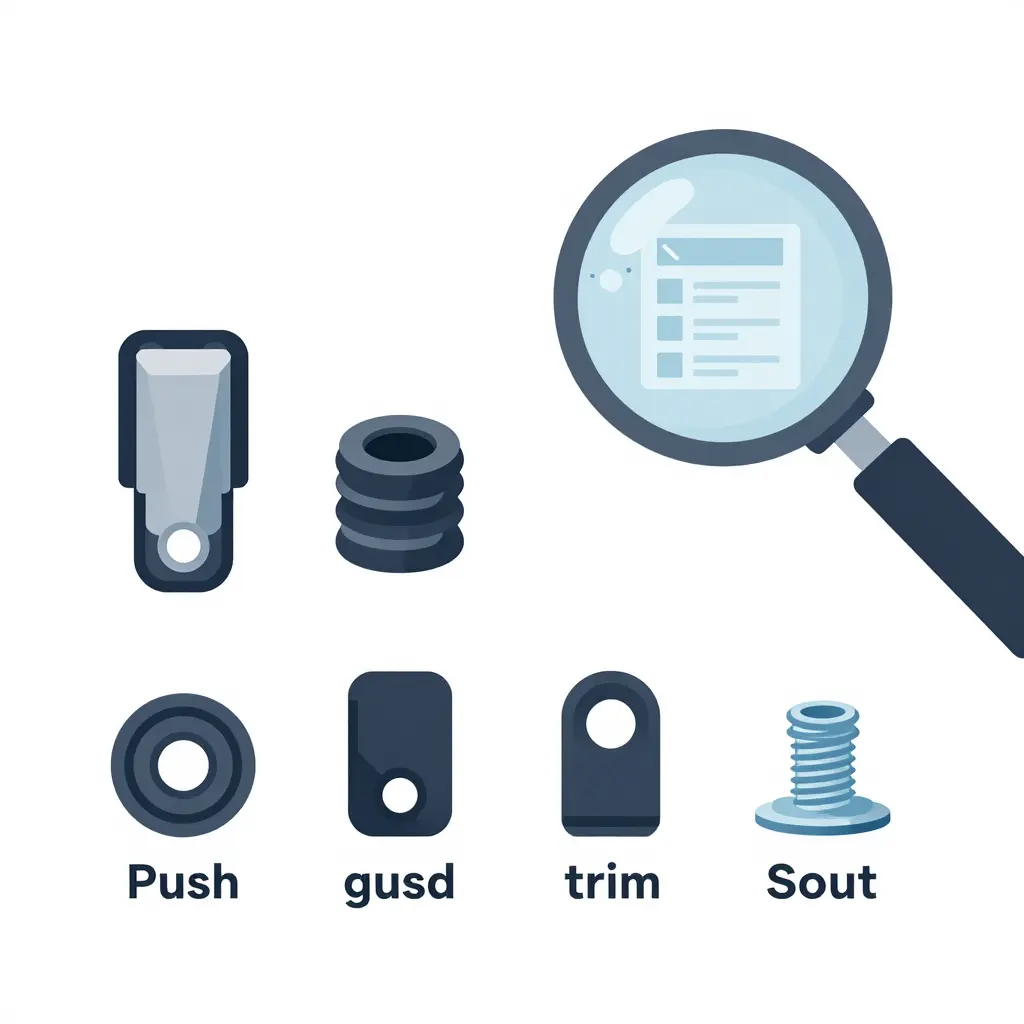
Every stalled fairing project has the same villain: a bag of generic fasteners that almost fit. Close enough never is. What goes wrong:
- Wrong size. A clip that’s half a millimeter off won’t seat. The panel rattles, then cracks at the mounting point.
- Wrong thread spec. Mismatched threads chew up the plastic boss. Now you’re mixing epoxy instead of riding.
- Wrong material. Cheap nylon goes brittle under UV and engine heat. OEM-grade polymer flexes and survives.
- Wrong fitment. A clip designed for another model can’t hold a fairing it was never built for.
Check these four specs before you order
| Spec | What to verify | Why it matters |
|---|---|---|
| Size | Diameter, length, and head type in mm | Loose clips rattle; tight ones crack panels |
| Thread | Pitch and profile (e.g., M5 x 0.8) | Mismatched threads strip the mounting boss |
| Material | Nylon, ABS, or OEM-grade polymer | Brittle plastics fail in heat and UV |
| Fitment | Exact year, model, and sub-model | Generic parts rarely match OEM geometry |
Order complete kits, not one-offs
Buy a full set of fairing clips and fairing grommets matched to your specific machine. A supplier with a broad catalog across many motorcycle models makes exact fitment far easier than hunting part by part, and buying from a specialist often costs less than piecing orders together across other sites.
Treat your fastener kit like the rest of your bench: sorted, labeled, and ready. The habit behind keeping parts organized supports maintenance schedules is the same one that keeps a fairing rebuild moving.
Mistakes that turn a quick rebuild into a stalled job
Anyone who has tackled motorcycle bodywork knows the feeling: the fairing is off, the parts are scattered, and the new fairing clips do not fit. A one-afternoon rebuild grinds to a halt over a handful of decisions made in the first ten minutes. These are the common ones.
Throwing away old clips before identifying the sizes
Worn, grimy fairing fasteners look like rubbish, so they get swept into the bin. Those old clips are often your only reliable size reference, and aftermarket catalogs list dozens of near-identical diameters that are easy to misread. Lay every clip and grommet on a labeled tray and measure each one before you discard anything.
Reusing stretched grommets
Rubber grommets compress, harden, and lose their grip over the years, so a reused one rarely seats properly. You then chase a vibration rattle for weeks while blaming the bolts. Treat grommets as consumables and replace them along with the clips every time a panel comes off.
Over-tightening bolts into worn clips
A bolt that feels snug looks secure, but a worn fairing clip has already lost its tension. Extra torque crushes it, cracks the mounting tab, and guarantees a loose panel. Use a torque wrench, and if a clip is soft or cracked, bin it instead of tightening your way around the problem.
Mixing clip types between panels
- Not every mounting point uses the same clip; side panels, nose cones, and tail sections often differ.
- Swapping types “because they fit” leads to stress cracks and rattles that appear only at speed.
Match each clip to its original position using a diagram or photo. If planned, documented upkeep appeals to you, it pairs well with a broader preventive maintenance habit.
Removing every panel at once without labeling
Stripping the whole fairing in one sweep feels efficient until reassembly day. Without labels you lose track of which bolt, grommet, and clip belongs where. Remove panels one at a time, bag and tag each fastener group, and photograph the layout before it disappears.
A stalled rebuild is almost never about skill. It is about losing the small, cheap parts that hold everything together. Protect your references and replace the wear items before they cost you a weekend.
Frequently Asked Questions About Fairing Clips and Grommets
Can I reuse old fairing clips and grommets?
In most cases, no. Fairing clips and grommets are made from soft plastic or rubber, and once they have been squeezed, pried, or removed, they rarely grip with the same tension again. Reusing tired hardware is one of the most common reasons a motorcycle fairing rebuild ends with rattles, loose panels, or a clip that simply pops out on the road. If a clip looks cracked, white-stressed, or loose, replace it – they are inexpensive compared to the plastic bodywork they protect. Pairing fresh clips with reliable maintenance habits keeps your panels snug for far longer.
What happens if I install fairings without grommets?
Grommets do more than fill a hole – they act as rubber cushions that isolate the fairing from vibration and allow bolts to seat without biting into plastic. Install fairings without them and the bolt contacts bare plastic, which quickly widens the mounting hole and cracks the panel over time. You may also get annoying buzzing at speed and stripped threads. Missing fairing grommets can turn a tidy rebuild into a return trip.
How do I identify the correct clip for my motorcycle model?
Start with your exact model year and, if possible, the VIN, because manufacturers often change fasteners mid-generation. Factory parts diagrams and exploded views are the fastest reference, and measuring a surviving clip’s diameter, length, and head style confirms the match. Color is a useful clue too, since many OEM fairing clips are coded by size. When in doubt, a model-specific fastener kit removes the guesswork.
Are aftermarket fairing fasteners reliable?
Quality aftermarket clips and grommets can be every bit as good as OEM, sometimes better, but bargain bins are a gamble. Cheap clips are often brittle and snap on install, or they fit loosely and let panels vibrate. Look for sellers who list material, dimensions, and the exact models they fit, and read reviews from other riders. A reputable brand is worth a few extra dollars on a full rebuild.
How many clips and grommets should I order for a full rebuild?
Count every fastener location on your bike first – side panels, nose, tail, and any trim – then add 15-20 percent extra for breakage and future use. Many fairing clip and grommet sets are sold by model, which simplifies ordering, but verify the quantity matches your corners and mounting points. Spare fairing grommets are cheap insurance for the next time a panel comes off for servicing.
Stop Losing Jobs to Missing Clips and Grommets
It is easy to overlook what keeps a fairing rebuild moving: the big panels get the attention, but the small hardware does the work. A fairing is only as solid as the clips that lock it down and the grommets that cushion it. When those tiny parts are missing, cracked, or the wrong size, the rebuild grinds to a halt.
The same three problems keep showing up. Worn or absent fairing grommets let vibration through, and panels rattle, crack, and chew through paint and mounting tabs. A stretched or wrong fairing clip gives way long after the bike leaves the bay. Then there is stall time, the quietest cost of all, as techs idle over a single backordered fastener while the lift stays tied up.
All three trace back to incomplete or incorrect small hardware. Fix that first and the rest of the rebuild falls into place.
So the advice is direct. Before you touch a bolt, inventory your clips and grommets and confirm you can source every piece the job needs. Then buy complete, model-specific kits from a specialist instead of chasing individual parts. Kits arrive matched to the fairing, fit the first time, and remove the guesswork, the second orders, and the downtime. That approach pairs well with the discipline behind regular maintenance schedules that keep any vehicle dependable.
Do it in the right order and missing clips and grommets stop costing you jobs altogether.